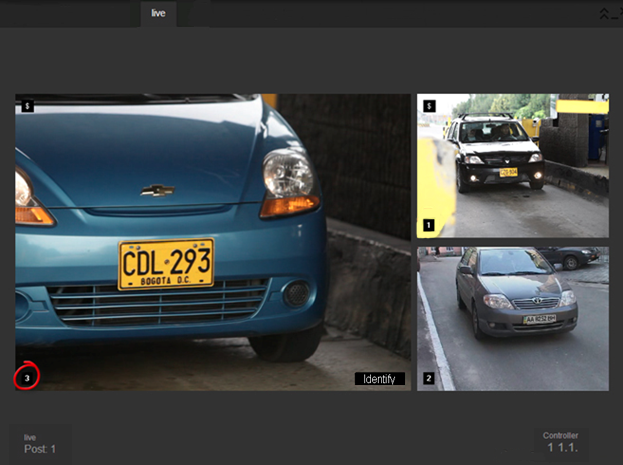
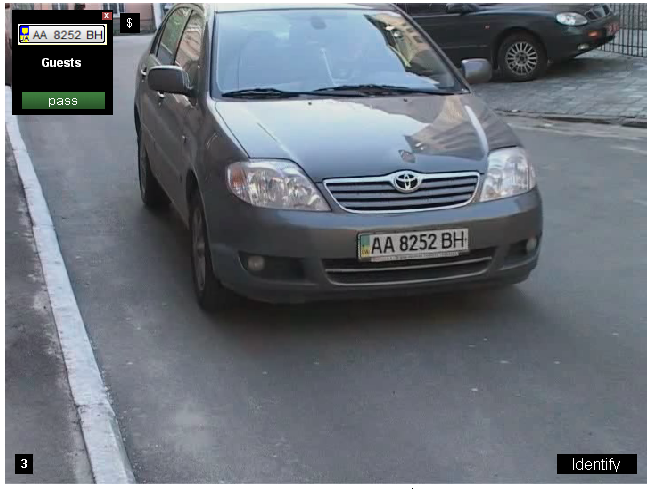
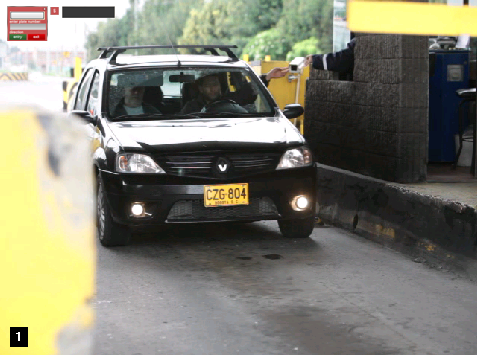
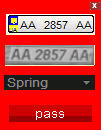
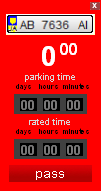
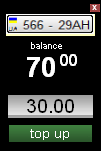
"Live" tab with rates
The «Live» tab
The main operator’s work implements in the «Live» tab. This tab displays the set of viewports which helps to control an object.
Viewport is a window of video flow output from a particular source in the application.
Customization of appearance of the “Live” tab is made by administrator in section “Viewports’ configuration” in the “Settings” tab. Description of setup process see in section “Customization of appearance of the “Live” tab”. Operator work with the “Live” tab is described in “Work with the “Live” tab”.
Customization of appearance of the «Live» tab
As it was mentioned above, customization of appearance of the “Live” tab is made by administrator in section “Viewports’ configuration” in the “Settings” tab. Depending on monitor resolution and the required monitoring conditions, a wide variety of viewports configurations can be selected.
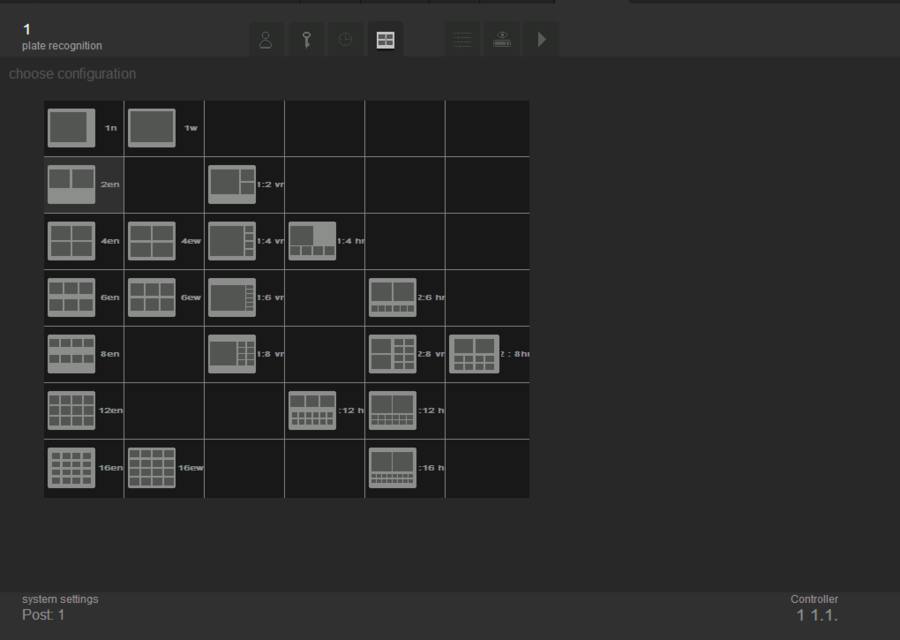
This tab allows choosing configuration of viewports, the most convenient for the user and satisfies system requirements. The exterior view of the tab is shown at a figure “Live” tab. Tab “Viewport’s Configuration”.
Its graphic display and text description are represented for each configuration (see fig. “Live” tab. Description of specific viewport’s configuration). Graphic display - this is how viewports will be displayed eventually on the “Live” tab, and a text description defines the configuration settings. The numbers in the description of viewport’s configuration are the number of viewports which will be displayed to the user. Letters – a type of display.
The description of types of configuration is shown in table1:
- Table1. Types of viewport’s display
| n, en | proportions of the frame (3x4) are saved, all viewports are equivalent |
| w, ew | proportions of the frame (3х4) are changed so that the viewports will be able to occupy the maximal area of the screen, all viewports are equivalent |
| vn | the main (big) viewport is positioned vertically to the small ones |
| hn | the main (big) viewport is positioned horizontally to the small ones |
Also, the system allows minimization and maximization of viewports. For example, if operator chooses “1:4vn” resolution, he/she will be able to process 5 video flows simultaneously: one maximized and four minimized.
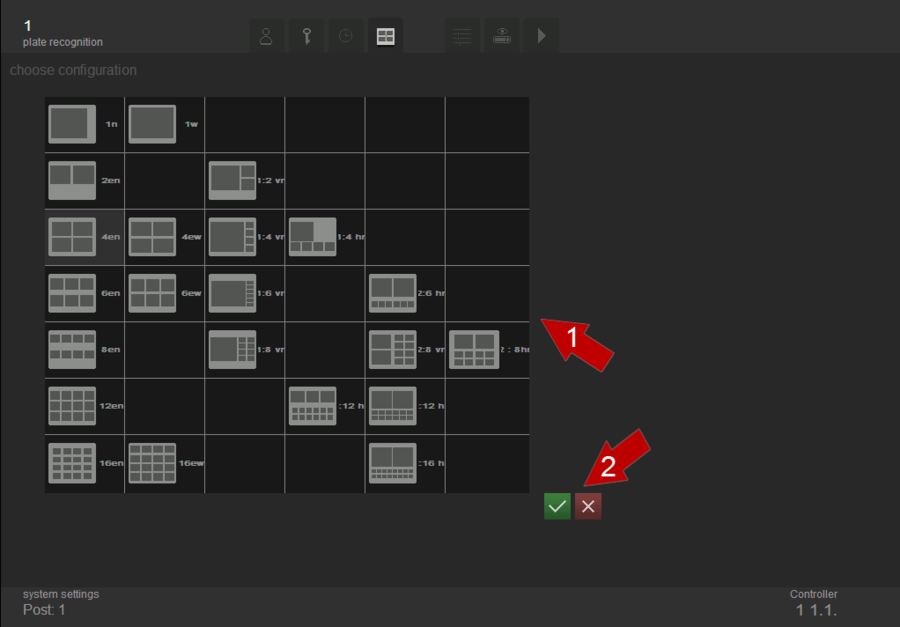
To setup viewport’s configuration select the required configuration from the list and click the button ![]() “Save Settings” (see “Live” tab. Save viewports settings).
“Save Settings” (see “Live” tab. Save viewports settings).
Work with the «Live» tab
As it was mentioned above, the main operator’s work implements in the «Live» tab. This tab displays the set of viewports which helps to control an object.
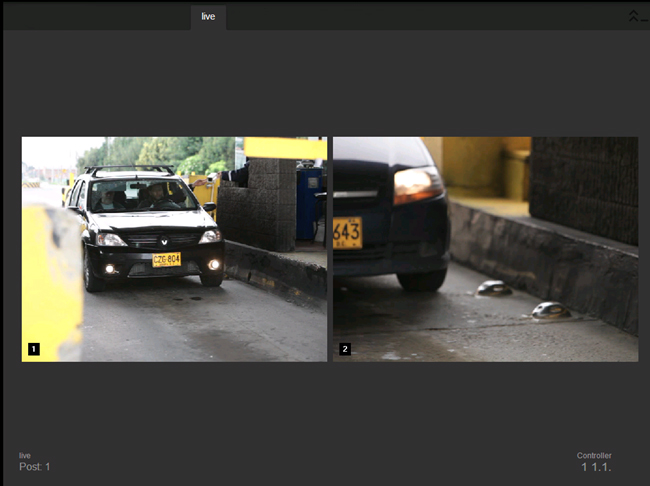
The «Live» tab is shown on the figure “Live” tab. The general view.
Viewport’s image can be minimized or maximized. Ordinary image in viewport is shown on the “Live” tab. Image in viewport.
To maximize the image, click ones on the left mouse button and scroll. The result is a change of shown image and emergence of large-scale editor. Dragging the square in the scale-editor changes the display area (see on fig. “Live” tab. Zoom in an image).
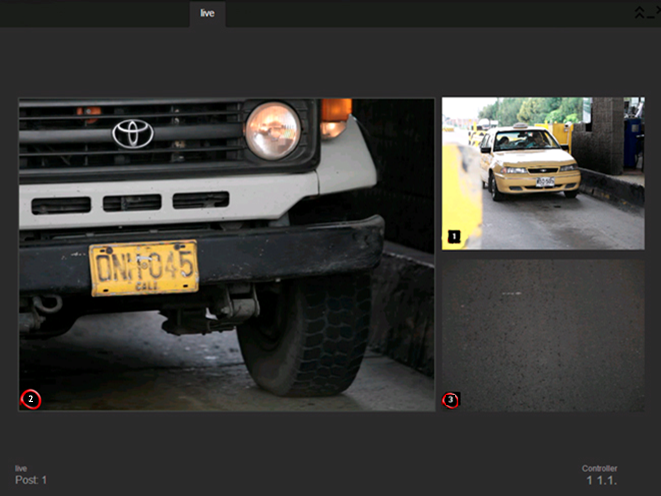
If there is more than one viewport and some was appointed as a main (one of viewports is much bigger than others), operator can determine which video flow will be displayed on the main viewport. Clicking minimized viewport, "maximizes" it to a big window, and the video flow that was outputted in a big window, will be displayed on the maximized viewport’s place.
For example, let we have settings, when main viewport broadcasts video from second channel (as you see on fig. “Live” tab. Selection of the “main” flow, 2 channel).
If you need to see third channel in the main viewort, click on it. This action changes system settings to ones, shown on fig. “Live” tab. Selection of the main flow, 3 channel: 3rd channel’s flow is shown in the main viewport and the 2nd channel’s flow is shown in viewport, where third flow was before changes.
In case when all viewports are equal (viewports windows are in equal size), clicking on the viewport does not change the position of the flow.
Note!
If one viewport is determined as main and others as additional, then “Identify” button displays on the main viewport only.
Detailed review of one of viewports:
Viewport contains next elements:
 |
Alert is a message of the system about a recognized plate number. Depending on the operation mode of each channel, alerts may vary. In some modes it is assumed, that operator makes a decision on how to proceed the recognized vehicle. For detailed information see the "System messages" part of this manual. |
| Button for a manual definition of a number in the frame, see use of this button on fig. “Live” tab. Manual numbers entry | |
| Button for account replenishment. Available only in the software version with enabled tariffication. | |
| File:ViewportButton.png | Button of the current viewport |
If the system does not recognize the plate number of the vehicle, the operator can manually add it into the database. Clicking the "Define" button activates the bounding box, which has to be adjusted to the plate number size in the frame. Next you need to enter the vehicles plate number and select movement direction (entry or exit). This option is available only in the "Parking" mode. Occurrence of the relevant records in the tables of events and statistics is a result of this operation.
Attention!
Numbers must be entered in Cyrillic keyboard layout (RU or UA). Otherwise, the system displays a message about the mismatch of the number type and the real one.
System messages
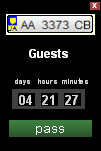
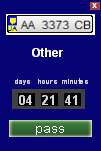
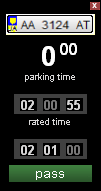
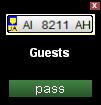
During the operation, the system shows messages (alerts) to the operator. By pressing "Pass" button, the operator permits the vehicle to the parking (from the parking), and enters relevant entries in the event and statistics log. The lifetime of such alert is until the operator reacts on it: either lets vehicle pass to the parking (from the parking) or closes the alert by clicking the “х” key. In case of external crossing devices (barriers, gates) connection, their operation will be done by clicking the button "Pass".
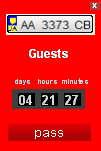
Alerts color indicates the belonging of a recognized number to a particular group. Red alert color indicates the following events:
- re-entry of a vehicle (the vehicle is already at the parking);
- re-exit (a car is not parked at the moment);
- when leaving, the account has not enough money to pay for the parking.
Entry and exit of a vehicle from the facility
To pass a vehicle at the facility:
- If plate number was recognized by the system automatically and there is no errors in the characters of number, than operator clicks “Pass” button on the entrance alert.
- If plate number was partly recognized or has some errors:
- operator need to press on the plate number line in the entrance alert;
- edit plate number in the alert and press “Pass” (if movement direction was determined automatically) or “Enter” (if movement direction was determined manually);
- press “Pass” button on the entrance alert.
- If plate number was not recognized, operator need to do next:
- press “Determine” button on the viewport;
- enter plate number in the edit alert and press “Pass” (if movement direction was determined automatically) or “Enter” (if movement direction was determined manually);
- press “Pass” button on the entrance alert.
Afterwards alert hides, recording data on the entry of the vehicle appears in the “Event” tab, and parking opens for the vehicle according to its group (parking data is available on the “Statistics” tab).
Note!
If there is no entry about a vehicle in a card file, clicking “Pass” button vehicle specifies in the “Guests” list with its card. Plate number is displayed against vehicles owner’s full name by default. This vehicle rates according a guest rate (guest rate is described in the “Rates” tab of users manual). To register the vehicle in other than “Guests” group (and consequently charging with other than a guest rate), choose correct group from the list in the entrance alert before pushing “Pass” button.
If there is entry about a vehicle in a card file and appurtenant group, charged with non-subscription rate, operator can change a group of this vehicle. To change a group, choose correct group from the list in the entrance alert before pushing “Pass” button. Vehicles card assigns in specified group after pushing “Pass” button and parking opens with new group rate.
It is impossible to change a group of entering vehicle, if its charges with a subscription rate group.
To let out a vehicle from the facility:
- If plate number was recognized automatically and there is no errors in the characters of number, operator clicks “Pass” button on the exit alert.
- If number plate was partly recognized or has some errors:
- operator need to press on the plate number line in the exit alert;
- edit plate number in the alert and press “Pass” (if movement direction was determined automatically) or “Exit” (if movement direction was determined manually);
- press “Pass” button on the exit alert.
- If number plate was not recognized, operator need to do the next:
- press “Determine” button on the viewport;
- enter plate number in the edit alert and press “Pass” (if movement direction was determined automatically) or “Exit” (if movement direction was determined manually);
- press “Pass” button on the entrance alert.
Afterwards alert hides, recording data on the entry of a vehicle appears on the “Event” tab, and parking closes for the vehicle according to its group (parking data is available on the “Statistics” tab).
If it is not enough money on the account of entering vehicle to pay the parking, than balance replenish alert appears after pushing “Pass” button. Operator enrolls in alert field received from owner the sum of money and press “Replenish” button. Than operator confirms exit of the vehicle from parking by pushing “Pass” button on the exit alert.
Note!
A vehicle can not exit the parking until parking cost is not paid in a full size. Group of alerts “Exit alert -> Replenish balance alert -> Exit alert” displays till account sum is less then payment sum for parking. Delayed payment is impossible.
"Live" tab with rates Вкладка "Наблюдение" с тарифами Pestaña "Seguimiento" con tarifas
