Milestone MA Configuration, Corporate version
Milestone XProtect Management Client Configuration
After the installation, VIT Recognition Server is available for future configuration in Milestone XProtect Management Client, Surveillance Server – Advanced Configuration - MIP Plug-ins – VIT Analytic Service section. No additional software is required for VIT Recognition Server management. However, Milestone Management Application small configuration must be performed for correct functioning of VIT Recognition Server. Namely:
- connect the video;
- enable Analytic events and define their parameters;
- create Analytics events for VIT Recognition Server.
Full description of these actions and settings is available in the documentation provided by Milestone Company. This guide contains only short list of actions that must be performed, to make VIT Recognition Server work.
Attention!
Please, press the button Save and Apply Configuration to save your changes and to make them available for future system configuration. We recommend using this button after every step of configuration that is described in this or following guides.
Connect the Video (Video File, for Example)
Add Hardware Device
In order to add new Hardware device it is necessary to perform the following steps:
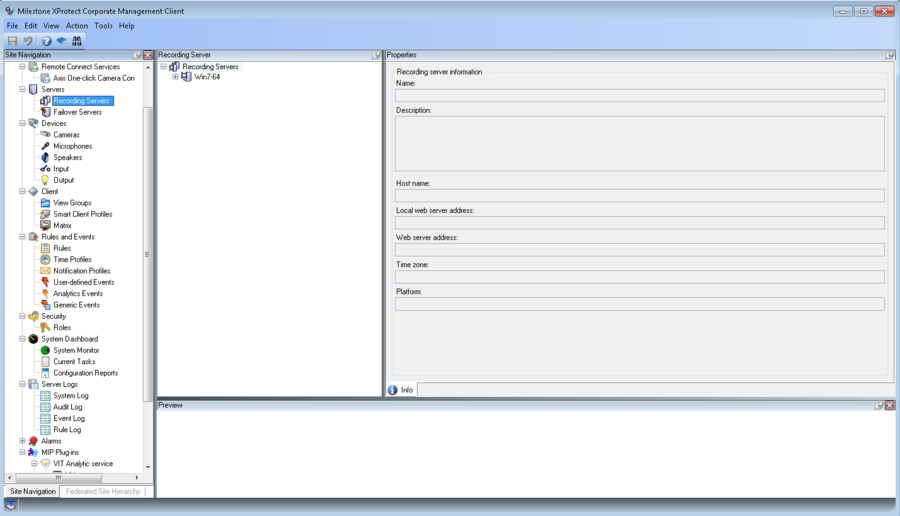
- click with left mouse button on Recording servers section. Two windows will be displayed: Recording Server – list of all available servers and Properties – properties of the selected server (see fig. Milestone Management Application Configuration. List of available Recording servers);
- click with left mouse button on the server that must be configured. If server wasn’t authorized select option Authorize server in the context menu. After server authorization select option Add Hardware in the context menu (see fig. Milestone Management Application Configuration. New Hardware Device Adding);
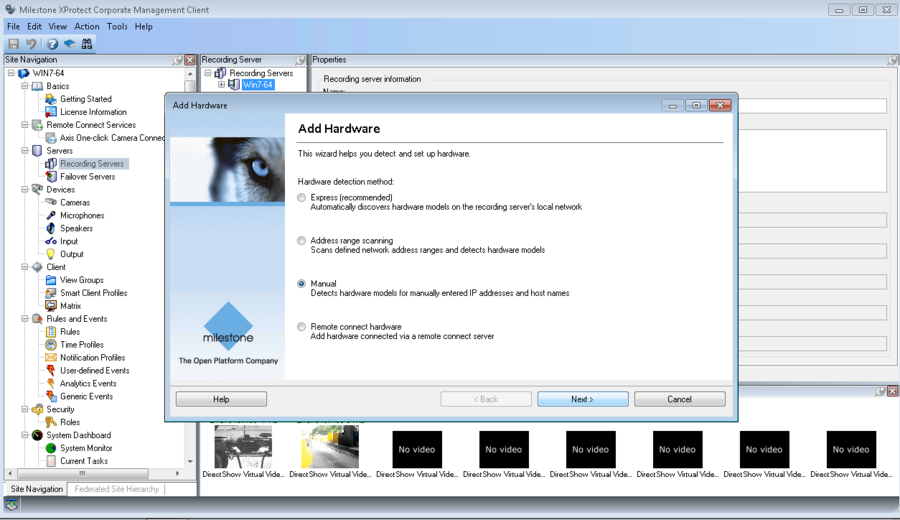
- in the pop up window select option Manual and click Next button (see fig. Milestone Management Application Configuration. Type of Hardware Device Selection);
- press Add button, paste in a new line parameters of the connection to the Hardware Device and click Next button (see fig. Milestone Management Application Configuration. Username and password configuration):
- Include – enabled;
- User Name – admin;
- Password – DirectShow.
- select Other/DirectShowDriver from the list and click Next button (see fig. Milestone Management Application Configuration. Driver selection);
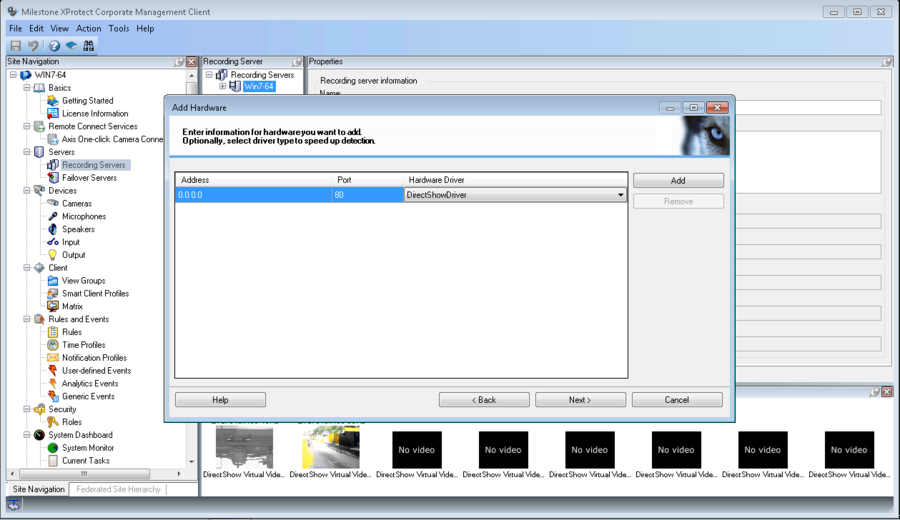
- paste the following Hardware Device parameters (see fig. Milestone Management Application Configuration. Hardware Device Parameters Pasting):
- Address – 0.0.0.0;
- Post – 80;
- Hardware Driver – DirectShowDriver.
- follow the wizard’s instructions to finish the configuration.
New Hardware device is added. Now the video file can be connected.
Connect Video File
In order to connect the video file it is necessary to perform the following steps::
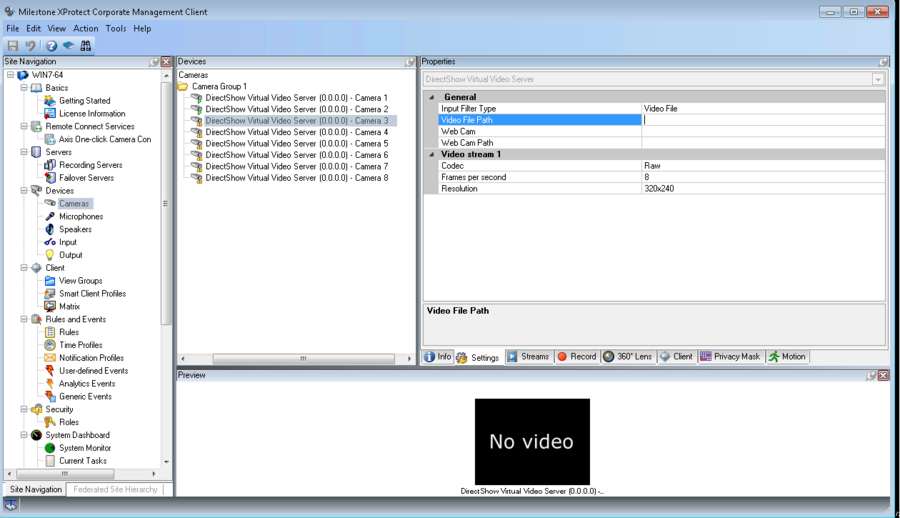
- click with left mouse button on Cameras section. Two windows will be displayed: Devices – list of all available cameras and Properties – properties of the selected camera. Select group that camera was connected and do the double click on the camera’s name;
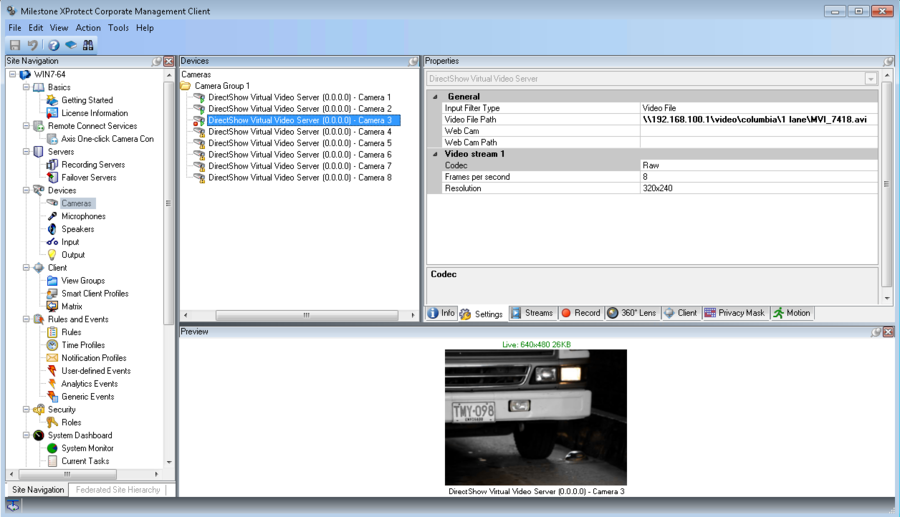
- paste path to the video file in Video File Path line on Settings tab in Properties window (see fig. Milestone Management Application Configuration. Camera Properties Window);
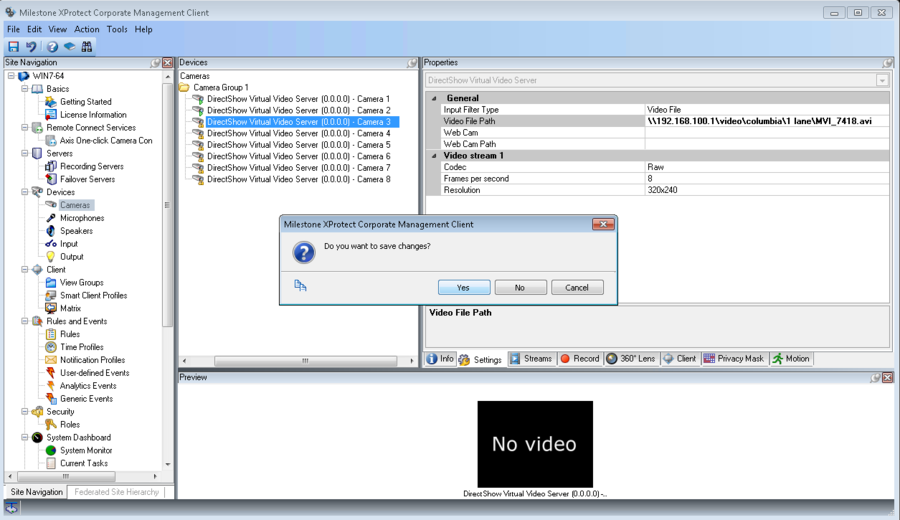
- save changes. The are two ways to do that (see fig. Milestone Management Application Configuration. Saving the changes):
- click Save button on the control panel;
- click another one object in the camera’s list and press Yes button in the pop up window.
If the video file is available and started playing than window with image from the chosen camera will be shown at the bottom part of the application (see fig. Milestone Management Application Configuration. Window with image from the chosen camera).
Analytics Events Parameters Configuration
In order to enable Analytic events it is necessary to perform the following steps:
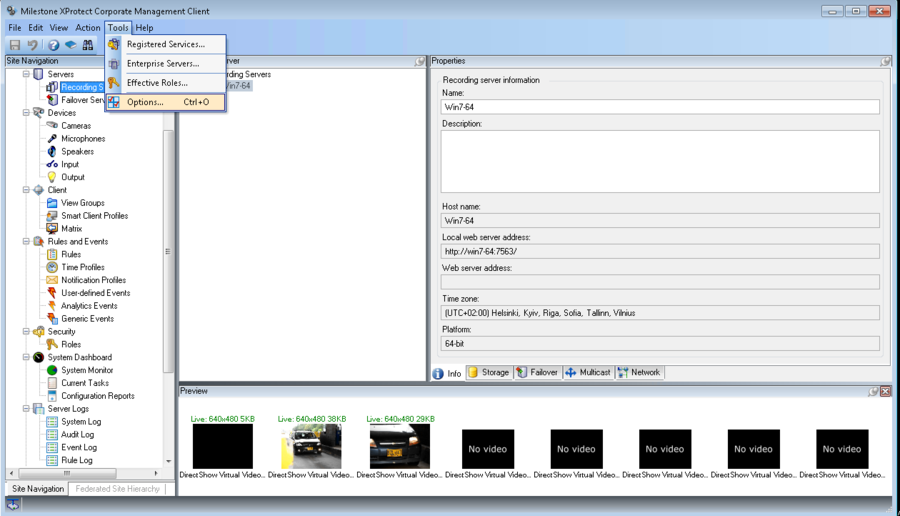
- select Tools -> Options in the Milestone Management Application menu or press Ctrl + O (see fig. Milestone Management Application Configuration. Options menu);
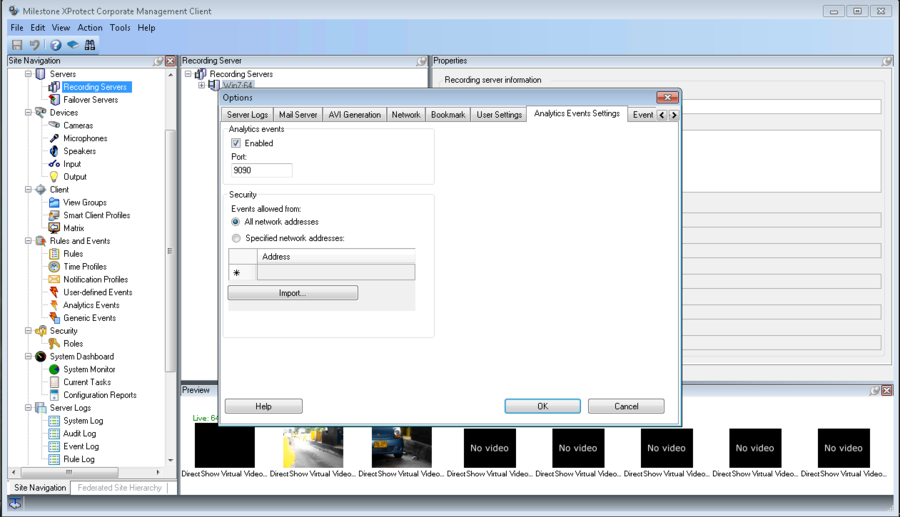
- select Analytics Events Settings tab on a pop up window and make sure that Enabled is set to “yes”, if it doesn’t than set it and press OK button (see fig. Milestone Management Application Configuration. Analytics Events activation).
Analytics Events for VIT Recognition Server Creation
To create a new Analytics event for VIT Recognition Server, it is necessary to perform the following steps:
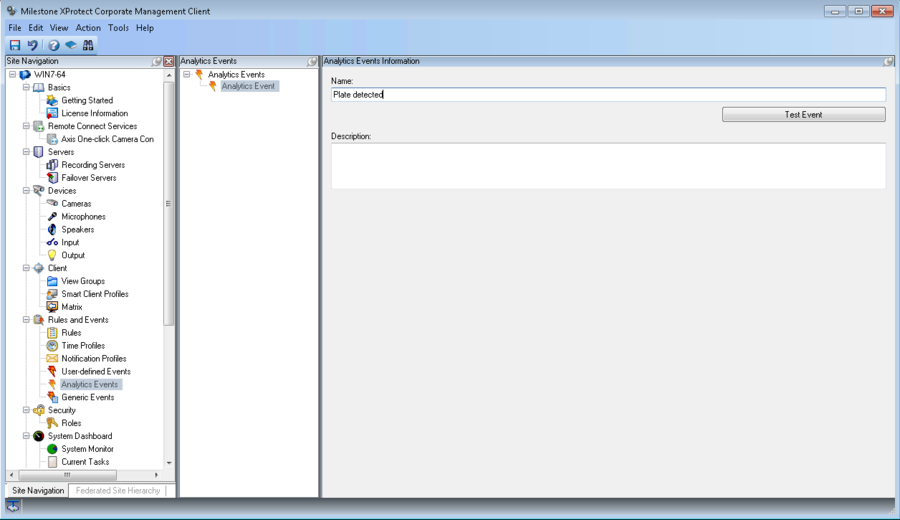
- click with left mouse button on Rules and Events section. Two windows will be displayed; Analytics events – list of all available events and Analytics events Information – properties of the selected event;
- click with left mouse button on Analytics Events section in Analytics Events window and select Add New option in the context menu (see fig. Milestone Management Application Configuration. New Analytic event adding);
- set the event’s name in the Analytic Events Information window (see fig. Milestone Management Application Configuration. Naming new analytic event).The one should paste one of the following names:
- car detected;
- plate detected;
- car lost.
- save changes. There are two ways to do that:
- click Save button on the control panel;
- click another one object in the camera’s list and press Yes button in the pop up window.
Now the following types of analytic events are available:
- Car detected - contains time of the number plate's first detection. If option "Send event while car in frame" is enabled, Car detected event is generated when "good recognized plate number" appears, in other case - after the vehicle leaves the frame with Plate detected and Car lost events;
- Plate detected – number plate appeared in frame;
- Car lost - contains time of the number plate's last detection.
Milestone MA Configuration, Corporate version
Предварительная настройка Milestone MA, версия Corporate
